
Start with a PayPal Business developer app: grab your client ID and secret, wire the PayPal JavaScript SDK onto your site, then create and capture an order from your server using the Orders API (v2). That sequence, tested first in the PayPal Sandbox, is the entire skeleton of a working checkout. Everything else in this guide (shipping callbacks, webhooks, refunds, Pay Links) sits on top of it.
If you're building this for the first time, here's the minimal proof-of-concept flow, in order:
- Create a PayPal Business account and register an app in the developer dashboard.
- Copy your sandbox client ID and secret into environment variables (never into client-side code).
- Drop the PayPal JavaScript SDK
<script>tag into your checkout page. - Build a server route that creates an order through Orders v2.
- Build a second server route that captures the order once the buyer approves it.
- Test both the happy path and a few forced failures in sandbox before touching production.
You can have this running on localhost in an afternoon. Getting it production-ready, with webhooks, refund handling, and proper error messaging, takes a bit longer. Both timelines are realistic, and we'll walk through each piece.
Key Takeaways
A working PayPal integration comes down to four steps done in order: get credentials, add the SDK, create the order on your server, then capture it.
| Point | Details |
|---|---|
| Follow the core sequence | Business account, then client ID/secret, then JavaScript SDK, then server-side create and capture. |
| Choose capture or authorize deliberately | Use CAPTURE for immediate fulfillment and AUTHORIZE only when you need to hold funds before shipping. |
| Test negative scenarios before launch | Enable sandbox negative testing to simulate INSTRUMENT_DECLINED and INSUFFICIENT_FUNDS before real money is involved. |
| Store every capture and order ID | You'll need them later for refunds, disputes, and reconciliation. |
| Consider Realclient for a no-backend option | Its client portals include built-in PayPal payment support for teams that would rather skip custom server work entirely. |
Table of Contents
- What You Need Before Starting Your PayPal Integration
- How Do You Add PayPal to the Front End of Your Website?
- How Does Server-Side PayPal Order Processing Work?
- Which PayPal Checkout Customizations Should You Add Next?
- How Do You Handle PayPal Errors, Declines, and Refunds?
- How Do You Test a PayPal Integration Before Launch?
- What Belongs on Your PayPal Go-Live Checklist?
- Should You Start With Pay Links or Build a Full API Integration?
- What Do the Minimal PayPal Code Snippets Look Like?
- What Should Small Teams Actually Expect From This Process?
- A Lower-Effort Way to Accept PayPal Payments Without Building a Backend
- Where to Keep Reading While You Build
- Sources
What You Need Before Starting Your PayPal Integration
Before opening your code editor, get your accounts and credentials sorted. Skipping this step is the number one reason developers get stuck halfway through a PayPal setup tutorial with confusing authentication errors.
You'll need a PayPal Business account, not a personal one. Setting one up costs nothing and carries no monthly maintenance fee. PayPal only charges when you actually receive a payment. Sole proprietors can register using their legal name and Social Security number instead of a formal business EIN, along with a basic business description and a linked bank account, according to PayPal's own best practices documentation.
Once your business account exists, head to the PayPal Developer Dashboard and create an app. This generates two things you'll use constantly: a client ID (safe to expose in front-end code) and a client secret (never safe to expose, ever). PayPal automatically gives you separate sandbox and live credentials, which is a deliberate design choice. You build and test entirely against sandbox data before flipping a single switch to go live.
Here's your pre-coding checklist:
- Register a PayPal Business account with your bank details and business description.
- Create a developer app to generate sandbox client ID and secret.
- Set up environment variables on your server (
.envfile or your host's secrets manager) to hold the secret. - Confirm your production domain will run over HTTPS. PayPal will not process live transactions without it.
- Install a server runtime you're comfortable with (Node.js, Python, Ruby, PHP all work fine) plus Postman or a similar tool for manually poking the API before you write client code.
- If you have no in-house developer, note that Pay Links & Buttons exist as a no-code fallback. We'll cover when that's the smarter call later on.
Pro Tip: Treat your client secret like a database password, because functionally, it is one. Store it only in server-side environment variables, rotate it if you ever suspect it leaked in a commit, and never let a teammate paste it into a Slack message or a public repo's README.
How Do You Add PayPal to the Front End of Your Website?
The client side of a PayPal payment gateway integration has one job: render a button and hand off two pieces of information to your server, then relay the result back to the SDK. It does not calculate totals, does not touch your secret, and does not talk to the Orders API directly.
Start by loading the JavaScript SDK with a script tag that carries your client ID and a few configuration parameters:
<script src="https://www.paypal.com/sdk/js?client-id=YOUR_CLIENT_ID¤cy=USD&components=buttons"></script>
You can add intent=capture or intent=authorize here too, though many teams handle that decision entirely on the server for more control. From there, the pattern for rendering buttons and wiring up the approval flow follows three steps:
- Call
paypal.Buttons()and pass it acreateOrderfunction. - Inside
createOrder, call your own server endpoint (not PayPal directly) to create the order and return an order ID. - Pass that order ID into an
onApprovefunction, which calls a second server endpoint to capture the payment.
paypal.Buttons({
  createOrder: function () {
    return fetch('/api/orders', { method: 'POST' })
      .then(res => res.json())
      .then(data => data.id);
  },
  onApprove: function (data) {
    return fetch(`/api/orders/${data.orderID}/capture`, { method: 'POST' })
      .then(res => res.json())
      .then(details => {
        console.log('Payment captured for', details.payer.name.given_name);
      });
  },
  onError: function (err) {
    console.error(err);
    // Show a friendly retry message, and check for INSTRUMENT_DECLINED
  }
}).render('#paypal-button-container');
Where you place that button container matters more than most developers assume. PayPal's own guidance is to present the button "upstream," meaning on the cart page or even the product page, rather than burying it deep in a multi-step checkout. Doing so lets returning PayPal customers skip manual data entry entirely, using stored shipping and payment details to complete a purchase in one or two clicks.
Minimizing checkout friction is one of the most reliable conversion levers a merchant has. Placing the PayPal button upstream, on the cart or product page instead of waiting until a final checkout screen, lets buyers use data already stored in their PayPal account instead of retyping it.
That single placement decision often does more for conversion than any amount of button styling.
| Approach | Best for | Trade-off |
|---|---|---|
| Button on cart page | High-intent buyers, fewer clicks | Requires shipping logic earlier in the flow |
| Button on product page | Impulse or single-item purchases | Skips upsell/cross-sell opportunities |
| Button at final checkout only | Complex multi-item carts | Higher abandonment risk |
Pro Tip: Never let the client determine the payment amount. Pass a SKU or product ID to your server and calculate the total there. A buyer who edits a hidden form field in dev tools should never be able to change what they're charged. Also pass data-page-type in your SDK config; it helps PayPal's fraud and UX systems behave correctly for cart versus checkout contexts.
How Does Server-Side PayPal Order Processing Work?
This is where the actual money moves, and where security matters most. Your server, never the browser, is responsible for authenticating with PayPal, creating orders, and capturing funds.
The first step is an OAuth token exchange. Your server sends its client ID and secret to PayPal's token endpoint and gets back a short-lived access token, which you then attach to every subsequent API call. Cache that token for its lifetime instead of requesting a new one on every checkout. PayPal explicitly recommends handling this server-side and warns against creating or signing orders in the browser, since exposing that logic client-side creates real security risk.
Creating an order through Orders v2 means POSTing a JSON payload describing what's being purchased:
{
  "intent": "CAPTURE",
  "purchase_units": [
    {
      "invoice_id": "INV-2026-0912",
      "amount": {
        "currency_code": "USD",
        "value": "49.99"
      }
    }
  ]
}
Real integrations usually add line items, shipping details, and a unique invoice_id for reconciliation and dispute handling. Orders v2 supports a few distinct flows depending on your needs: a straightforward create-and-capture, a separate payment source confirmation step, or a multi-step authorization sequence. Each requires slightly different server calls, and PayPal documents them individually rather than forcing every merchant through one rigid path.
Once the buyer approves the order client-side, your server calls the capture endpoint (or the authorize endpoint, depending on your intent). This is the step that actually moves funds.
Capture versus authorize is the single most consequential decision in your backend logic. Capture settles the transaction immediately. Authorize places a hold on funds without collecting them, which matters if you ship goods days after the order is placed, or if you need a fraud review window before committing.
That 29-day authorization window sounds generous until you look closer. The guaranteed honor period for capturing an authorized payment is only about 3 days. Miss that window and you'll need to reauthorize, which restarts a fresh (and equally short) honor period. If your fulfillment process regularly takes longer than three days, build reauthorization logic in from day one rather than discovering the gap in production.
Security-wise, treat these rules as non-negotiable:
- Never embed your client secret anywhere the browser can read it.
- Serve every payment page over HTTPS, including sandbox testing pages if you're testing production-like flows.
- Store every capture ID and authorization ID in your own database. You'll need them for refunds, disputes, and reconciliation long after the checkout session ends.
- Use idempotency keys on order creation calls so a flaky network retry doesn't accidentally create duplicate orders.
Pro Tip: A generic rule of thumb from PayPal's own authorization guidance: default to CAPTURE unless your business model specifically requires holding funds. Retailers who ship within a day or two rarely benefit from the added complexity of authorize-then-capture logic.
Which PayPal Checkout Customizations Should You Add Next?
Once your core createOrder/capture loop works, a few optional features separate a bare-bones proof of concept from a checkout that actually converts well and avoids disputes.
Shipping callbacks are the first thing most merchants add. PayPal's Shipping Module lets you display and update delivery options in real time, right inside the PayPal payment window, instead of forcing buyers back to your site to pick a shipping method. You control this with the shipping_preference parameter, and you have three main choices:
GET_FROM_FILEpulls the buyer's saved PayPal address automatically.SET_PROVIDED_ADDRESSlocks in an address you already collected on your own site.NO_SHIPPINGhides the shipping section entirely, which makes sense for digital goods or services.
Skip this configuration and buyers who choose a shipping method inside PayPal may end up redirected back to your site anyway to confirm delivery, adding a step that hurts completion rates.
Beyond shipping, a handful of other customizations come up often enough to plan for:
- Passing detailed line items and a stable buyer identifier reduces chargeback disputes, since PayPal's fraud systems and your own support team both have more context to work with.
- Pay Later messaging (the small "as low as $X/month" text near your button) can lift average order value, but placement rules matter, so follow PayPal's spacing and eligibility guidance rather than freehanding it.
- App Switch redirects mobile buyers into their installed PayPal app for authentication instead of a mobile web popup, which tends to feel faster and more trustworthy on phones.
- CardFields lets you build a fully on-site card entry form (no PayPal-branded redirect at all) if your brand wants a completely white-label checkout.
- If you're building inside React, Vue, or Angular, use the SDK's dedicated driver helpers (for example,
paypal.Buttons.driver('react', {React, ReactDOM})) and render the PayPal button as a real full-height component rather than stuffing it into an iframe, which tends to break single-page app navigation and state management.
Pro Tip: If you're deciding what to build first, shipping callbacks and line-item detail earn back more in reduced support tickets than Pay Later messaging earns in conversion lift for most small merchants. Start there.
How Do You Handle PayPal Errors, Declines, and Refunds?
Payments fail. Cards get declined, buyers hit funding limits, and duplicate submissions happen when someone double-clicks a button on a slow connection. How your checkout responds to those moments matters as much as the happy path.
A few error codes show up constantly enough that you should build specific handling for each:
- INSTRUMENT_DECLINED means the buyer's chosen funding source was rejected. The correct response is to let them pick a different funding source inside the same PayPal window rather than failing the whole checkout.
- INSUFFICIENT_FUNDS is similar: prompt for an alternate payment method instead of a dead-end error page.
- TRANSACTION_REFUSED usually points to a fraud filter or account restriction; log it and offer a generic retry message rather than exposing internal detail to the buyer.
- DUPLICATE_INVOICE fires when your
invoice_idcollides with a previous order, which usually means your idempotency logic needs a closer look.
Here's the recommended remediation sequence when any of these hit:
- Catch the error in your
onErrorhandler on the client. - Check the error name against known codes like
INSTRUMENT_DECLINED. - If it's a funding issue, call
actions.restart()so PayPal automatically re-prompts the buyer with alternate funding sources instead of restarting your entire checkout. - If it's a server-side or duplicate issue, log the full response and show a generic "something went wrong, please try again" message.
Webhooks are how your server learns about events that happen outside the immediate checkout request, like a delayed capture, a dispute, or a refund initiated from the PayPal dashboard rather than your own code. Subscribe to at least these three events:
| Webhook event | What it tells you | Action to take |
|---|---|---|
| PAYMENT.CAPTURE.COMPLETED | Funds have settled successfully | Mark the order paid, trigger fulfillment |
| PAYMENT.CAPTURE.DENIED | A capture attempt failed | Flag the order, notify the buyer or support team |
| PAYMENT.CAPTURE.REFUNDED | A refund was processed | Update your order record and inventory if applicable |
Always verify the webhook signature before trusting the payload; PayPal signs each event, and skipping verification opens the door to spoofed requests hitting your order-update logic. For refunds and voids, build a server endpoint that references the original capture ID rather than the order ID, since that's what the refund API actually expects.
Pro Tip: Log every capture ID and authorization ID the moment you receive it, before you even respond to the client. If a webhook arrives before your synchronous capture response finishes processing (it happens more often than you'd expect), you want that ID already sitting in your database.
How Do You Test a PayPal Integration Before Launch?
Every PayPal setup tutorial worth following insists on this step, and for good reason: sandbox testing is where you catch the failures that would otherwise surface in front of a paying customer.
Start by creating both a sandbox buyer account and a sandbox business account inside the developer dashboard. These simulate the two sides of every transaction. Then enable Negative Testing on your sandbox business account, a setting that lets you force specific error responses on demand instead of hoping a real failure happens to occur during your test session. This is explicitly documented as part of PayPal's quickstart integration guide.
Enable sandbox negative testing early, using the ENABLE_NEGATIVE_TESTING setting in your sandbox business account, and use the documented negative test codes to validate recovery flows like fallback payment selection and proper error messaging before any of it touches real money.
Run through this test matrix before you consider the integration done:
| Test scenario | Trigger method | Expected result |
|---|---|---|
| Successful payment | Standard sandbox buyer checkout | Order captured, webhook fires PAYMENT.CAPTURE.COMPLETED |
| Insufficient funds | Negative testing flag: INSUFFICIENT_FUNDS | Buyer prompted to choose alternate funding source |
| Instrument declined | Negative testing flag: INSTRUMENT_DECLINED | Checkout restarts via actions.restart() |
| Server error | Negative testing flag: INTERNAL_SERVER_ERROR | Client shows generic retry message, logs full error |
| Duplicate invoice ID | Reuse an existing invoice_id | Order creation rejected, idempotency logic confirmed |
If your checkout runs inside a single-page app, add one more round of testing focused specifically on navigation state: confirm the PayPal button re-renders correctly after client-side route changes, and if you support mobile, test the App Switch flow on an actual device rather than a desktop browser emulation, since the handoff behavior differs meaningfully.
Pro Tip: Run your negative tests in a random order, not the same sequence every time. Developers often unconsciously build handling that only works when errors happen in the order they originally tested, which quietly breaks the first time a real customer's failure doesn't follow that script.
What Belongs on Your PayPal Go-Live Checklist?
Moving from sandbox to production is a matter of swapping a handful of values, but it's exactly the kind of step where a rushed Friday afternoon deploy causes a weekend of headaches.
Before flipping anything to live mode:
- Replace your sandbox client ID in every client-side script tag with your live client ID.
- Replace the sandbox client secret in your server environment variables with the live secret. Double check you haven't left the sandbox value cached anywhere, including CI/CD pipeline secrets.
- Confirm HTTPS is active and your SSL certificate is valid on every page that touches checkout.
- Run one real transaction for a small amount, a dollar is plenty, using your own card or account to confirm funds actually land in your PayPal balance.
Once live, don't consider the job finished. A few ongoing habits catch problems before they become customer complaints:
- Store every capture ID and order ID from live transactions in your own database, exactly as you did in testing.
- Set up alerting for webhook delivery failures. A silent webhook failure means your order records can silently drift out of sync with what PayPal actually processed.
- Audit your transaction logs weekly for the first month after launch, watching specifically for repeated
INSTRUMENT_DECLINEDpatterns that might point to a UX problem rather than genuinely bad cards.
Pro Tip: Keep your sandbox credentials active and your test suite runnable even after going live. The next time you add a feature, a webhook, a new currency, a shipping rule, you'll want a safe environment to break things in before touching production again.
Should You Start With Pay Links or Build a Full API Integration?
Not every business needs a coded checkout on day one, and pretending otherwise wastes time for a lot of small business owners.

Pay Links & Buttons let you accept payments through a shareable link, an embeddable button, or a QR code, with zero custom development. PayPal describes this explicitly as the option for merchants without a custom website or developer resources. If you're invoicing a handful of clients a month, selling through social media, or taking quick one-off payments, this covers you completely, and you can be collecting money within minutes of reading this sentence.
Where Pay Links fall short is branding and control. You can't customize the on-site checkout experience, you don't get shipping callbacks or webhook-driven automation, and refund handling happens manually inside the PayPal dashboard rather than through your own systems. As order volume grows, or as you need tighter integration with inventory, CRM, or invoicing, the coded SDK-and-Orders-API path starts paying for itself.
If and when you migrate:
- Preserve your existing invoice ID scheme so historical Pay Links orders and new API orders reconcile in the same reporting view.
- Map your product SKUs to server-calculated amounts before writing a single line of createOrder code, since this is the logic Pay Links never required you to build.
- Carry over your existing customer records rather than starting a fresh database, so repeat buyers aren't treated as new accounts.
Businesses that want the branding and automation benefits of a full integration without building and hosting the backend themselves often land on a middle path: a low-code client portal that already handles payments, invoicing, and file sharing in one branded space. That's a real option worth weighing before committing engineering time to a custom build, and we'll cover it more directly below.
Pro Tip: Small teams with an existing client relationship, retainer clients, ongoing project work, don't necessarily need a public checkout page at all. A branded portal where clients log in, review deliverables, and pay invoices in one place can solve the problem more directly than either Pay Links or a custom API build.
What Do the Minimal PayPal Code Snippets Look Like?
Here's the entire flow condensed into copy-adjacent pieces, useful as a working reference once you've read the fuller explanations above.
Server-side order creation, using curl against the sandbox environment (after you've obtained an access token via OAuth):
curl -v -X POST https://api-m.sandbox.paypal.com/v2/checkout/orders \
  -H "Content-Type: application/json" \
  -H "Authorization: Bearer ACCESS_TOKEN" \
  -d '{
    "intent": "CAPTURE",
    "purchase_units": [{"amount": {"currency_code": "USD", "value": "25.00"}}]
  }'
A minimal Node/Express route pair covering create and capture:
app.post('/api/orders', async (req, res) => {
  const order = await createOrder(); // wraps the Orders v2 POST call
  res.json({ id: order.id });
});

app.post('/api/orders/:orderID/capture', async (req, res) => {
  const capture = await captureOrder(req.params.orderID);
  // Store capture.id in your database here
  res.json(capture);
});
A working proof of concept doesn't need every feature covered in this guide. It needs exactly three things: a server that can create an order, a server that can capture it, and a client that connects the two through the SDK's createOrder and onApprove callbacks.
On the client, the pattern shown earlier in this guide (SDK script, createOrder calling your server, onApprove calling your capture route) is the entire piece you need. A few notes worth keeping close by as you build:
- Cache your OAuth access token for its full lifetime instead of requesting a fresh one on every single checkout.
- Store both the order ID and the resulting capture ID the moment you receive them, not after some later cleanup step.
- Keep sandbox and live environment variables in clearly separate
.envfiles or secrets namespaces so a copy-paste mistake doesn't send a live secret into a sandbox test.
| Snippet type | Where it runs | Key thing to get right |
|---|---|---|
| Order creation | Server | Calculate amount server-side, never trust client input |
| Capture call | Server | Store capture ID immediately for future refunds |
| SDK render + callbacks | Client (browser) | Never expose client secret, only client ID |
What Should Small Teams Actually Expect From This Process?
Most integration guides gloss over timeline, and that's a disservice to anyone trying to plan a sprint or a launch date around this work.
A solo developer comfortable with REST APIs can get a working sandbox checkout, buttons rendering, order creation, capture, running in a single day. Getting it production-ready, with proper error handling, webhook subscriptions, and negative testing coverage, realistically takes another two to four days depending on how many of the optional customizations (shipping callbacks, Pay Later messaging, App Switch) you decide to include. A small team splitting front-end and back-end work can compress that timeline, but coordination overhead often eats a chunk of the time saved. The no-code Pay Links path, by contrast, takes minutes rather than days, precisely because it trades away branding and automation for speed.
The pitfalls that actually cause delays aren't exotic. They're the same handful every time: a client secret accidentally committed to a public repository, shipping callbacks skipped entirely because they seemed optional (they aren't, once real customers start abandoning carts mid-checkout), negative test cases skipped because the happy path worked on the first try, and capture IDs never stored anywhere, which turns a routine refund request three weeks later into an afternoon of digging through PayPal's dashboard by hand.
The real trade-off underneath all of this is speed versus control. Pay Links get you collecting money today. A full SDK and Orders API build gets you a branded, on-site experience with shipping logic, webhook automation, and refund handling built into your own systems, but it costs real development time up front. Neither choice is wrong. The mistake is picking the API route by default when a small volume of invoicing genuinely didn't need it, or sticking with Pay Links long after order volume justified the investment in something more integrated.
A Lower-Effort Way to Accept PayPal Payments Without Building a Backend
If everything above sounds like more backend work than your business actually wants to own, Realclient gets you a branded client workspace with PayPal payment support built in, no order-creation endpoints, no capture logic, no webhook plumbing to maintain yourself.
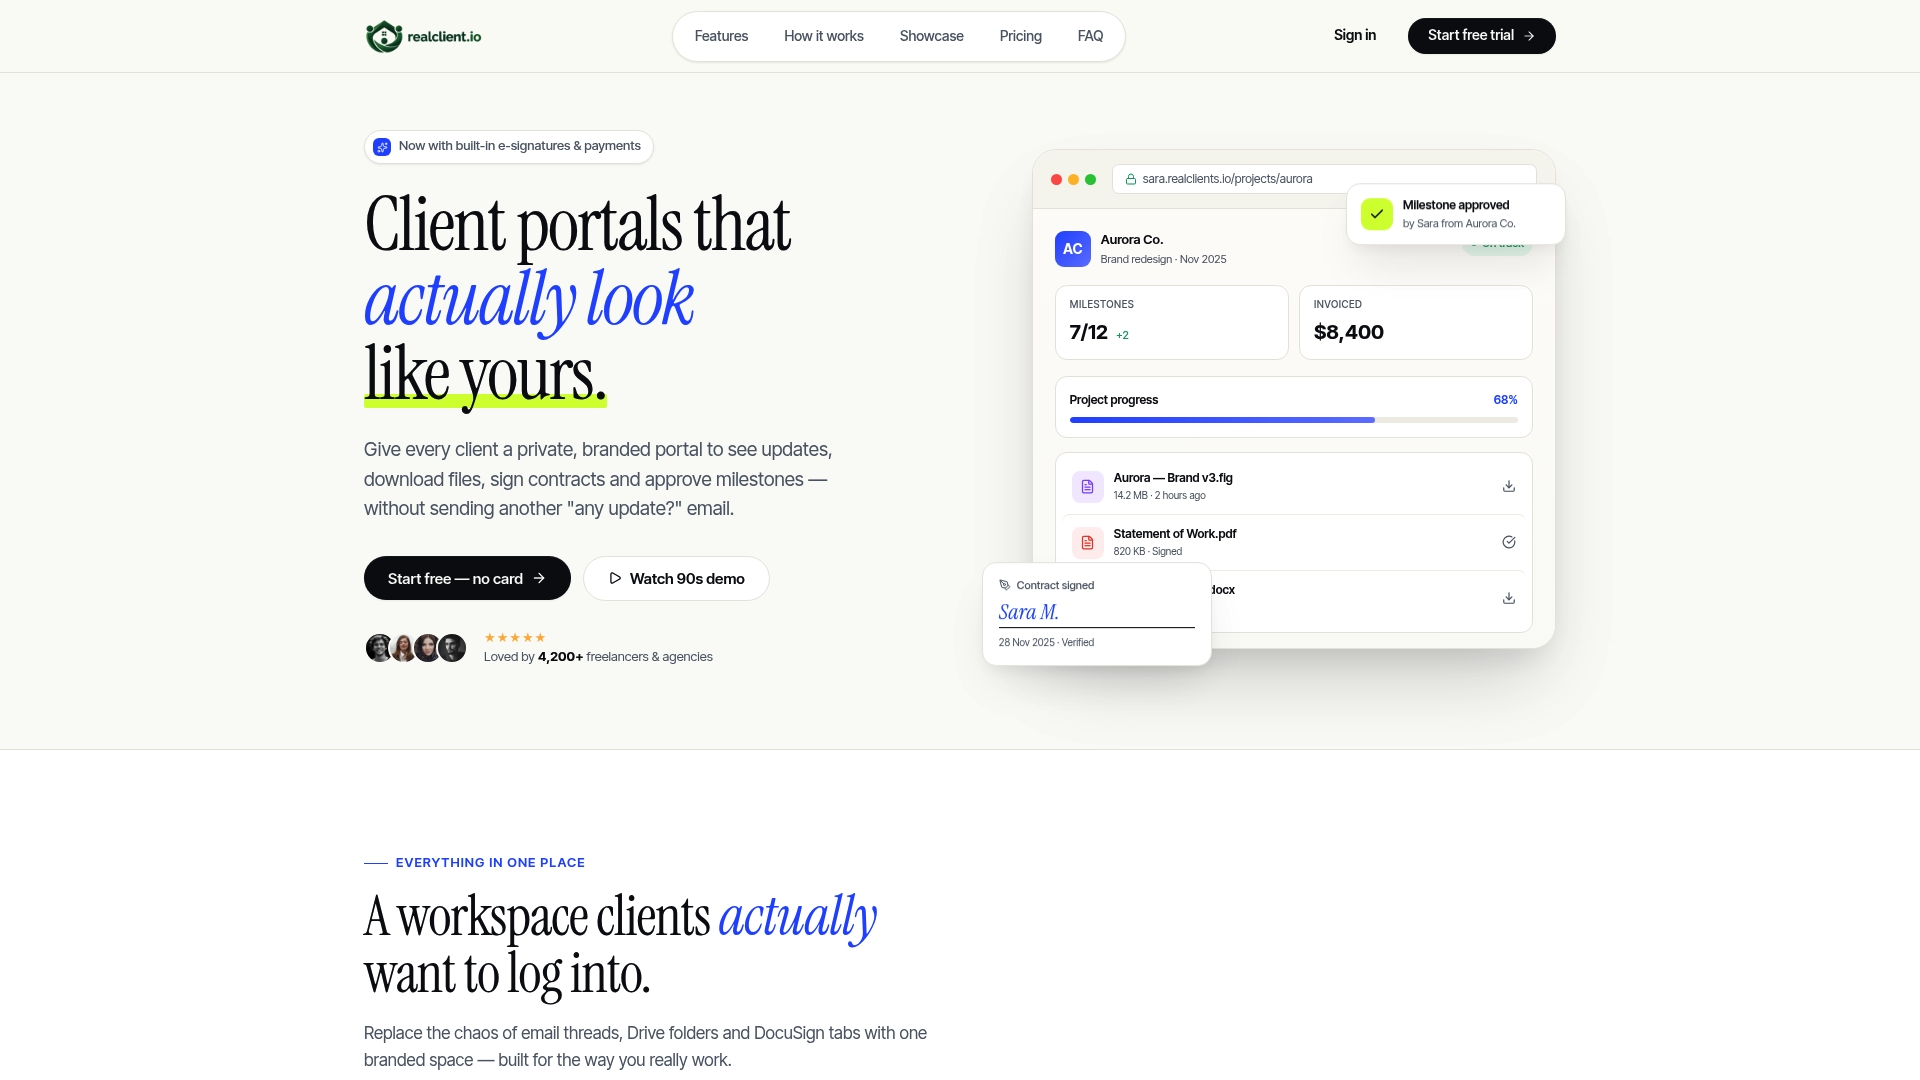
For freelancers, agencies, and small firms without a dedicated developer, that difference is the whole decision. Instead of writing and hosting the server routes covered in this guide, you get a private portal where clients view project updates, sign contracts, and pay invoices directly, with the payment processing already wired in. Realclient fits teams who want the branding and structure of a full integration without the maintenance burden of running their own PayPal backend indefinitely.
That said, if you're processing high transaction volume, need highly customized shipping logic, or want granular control over every webhook event, the direct SDK and Orders API path this guide walks through is still the better fit. For everyone else managing client work and payments together, check Realclient's pricing plans and see whether a branded portal covers what you'd otherwise build by hand.
Where to Keep Reading While You Build
A handful of official references are worth keeping open in a browser tab while you're actively coding this integration, rather than relying on memory or secondhand summaries.
- The PayPal standard payments quickstart covers the base JavaScript SDK and Orders v2 sample code that most of this guide builds on.
- The Orders API use cases documentation walks through the different create, confirm, and authorize flows in more depth than fits here.
- The sandbox integration and negative testing guide is essential before you write a single line of error-handling code.
- The authorize and capture integration guide explains the honor period and reauthorization rules in full technical detail.
- The Pay Links and Buttons help article is worth reading even if you're building the full API integration, since it clarifies exactly where the no-code ceiling sits.
Frequently Asked Questions
Does PayPal integration require PCI-DSS compliance on my end? If you use the hosted JavaScript SDK and Orders API without ever touching raw card numbers on your own servers, your PCI scope stays minimal since PayPal handles the sensitive card data. If you add CardFields for direct on-site card entry, your compliance obligations increase, so review PayPal's own compliance guidance for that specific configuration before launching it.
How do I handle different currencies in a PayPal integration?
Set the currency parameter in your SDK script tag and match it to the currency_code in your Orders v2 payload. Keep these two values consistent everywhere in your flow. A mismatch between what your SDK renders and what your server sends is a common source of confusing checkout failures.
What's the difference between the JavaScript SDK and PayPal's server SDKs? The JavaScript SDK runs in the browser and renders buttons and UI. The server SDKs (available for Node, Python, Java, and others) handle OAuth token management and API calls from your backend, and PayPal recommends using them specifically to keep order creation logic off the client entirely.
Can I test webhooks in the PayPal Sandbox before going live? Yes. Configure a webhook endpoint against your sandbox app, trigger sandbox transactions, and confirm your server correctly parses and verifies the signed payloads before you ever subscribe your live app to the same events.
What should I do if a customer's payment shows INSTRUMENT_DECLINED?
Call actions.restart() in your onError handler rather than failing the whole checkout. This re-prompts the buyer inside the same PayPal window to select a different funding source, which recovers far more sales than sending them back to a blank error page.
Sources
- How do I create a pay link and button? | PayPal Help